How I built a black hole in WebGL
Gargantua, the centre of this portfolio, isn't drawn: a shader follows the light ray by ray around the black hole. The physics, the disk, the Doppler effect and what it took to run on any device.

Jonás Javier Encarnación7 min read
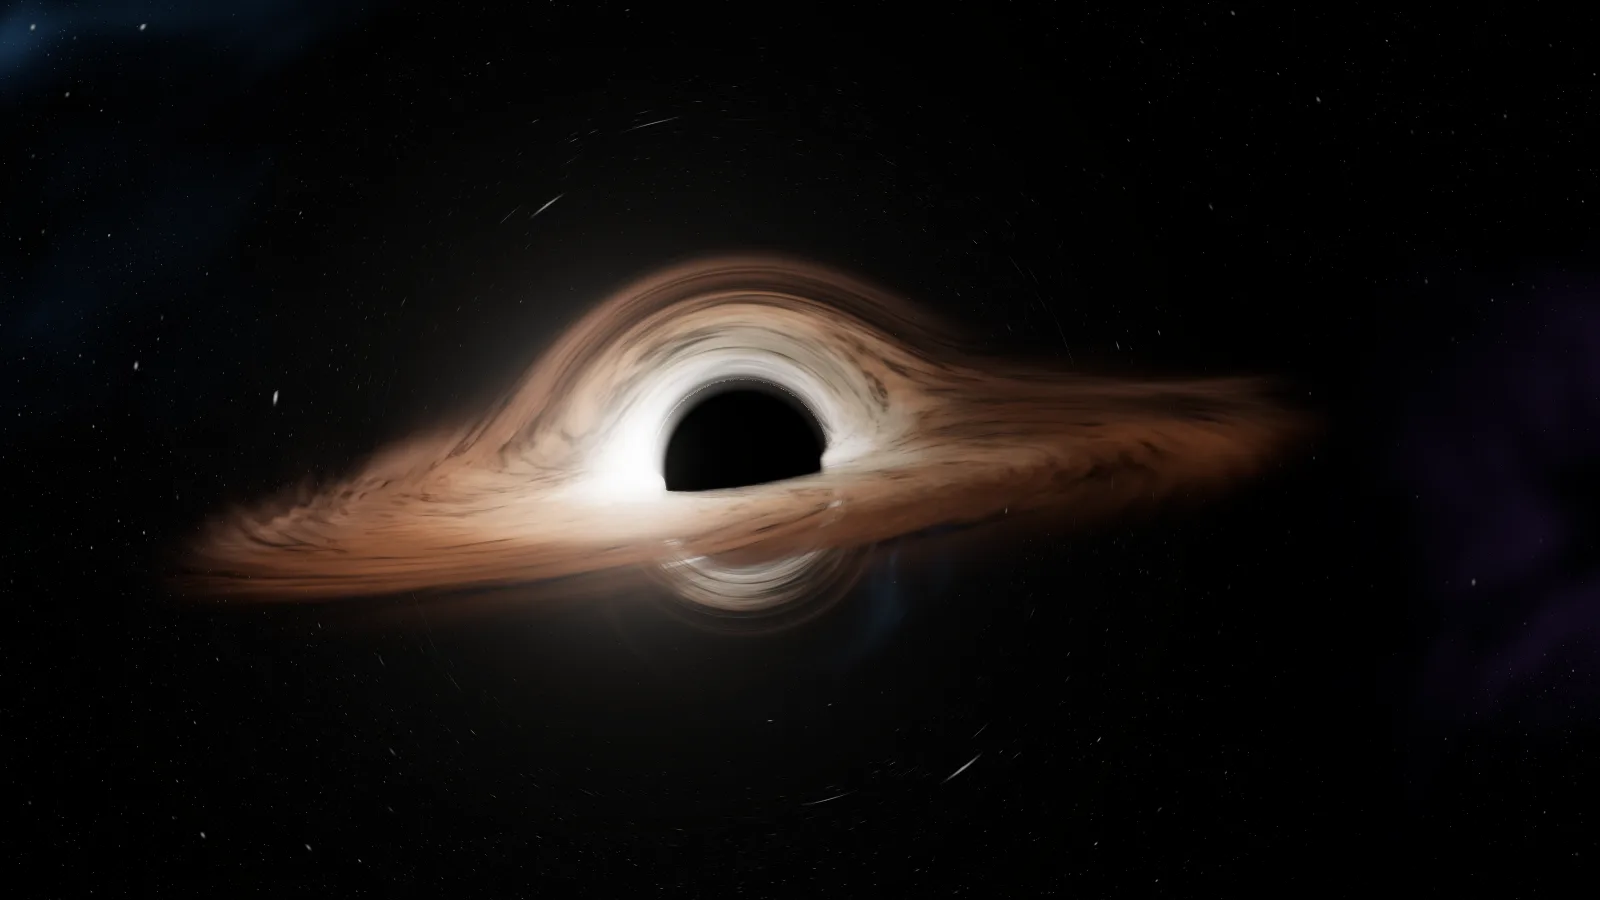
Gargantua is the centre of this site: the black hole the six sections are arranged around, inspired by the one in Interstellar. In the Observatory you can see it full screen, switch between four views and turn its effects off one by one. This note explains how it's built and what each part cost me.
Don't draw the black hole: follow the light
The first version was a five-layer trick: a disk, a halo and even an Einstein ring baked onto a plane. You could see the seam between the ring and the disk, and a seam is exactly what gives away that something is drawn.
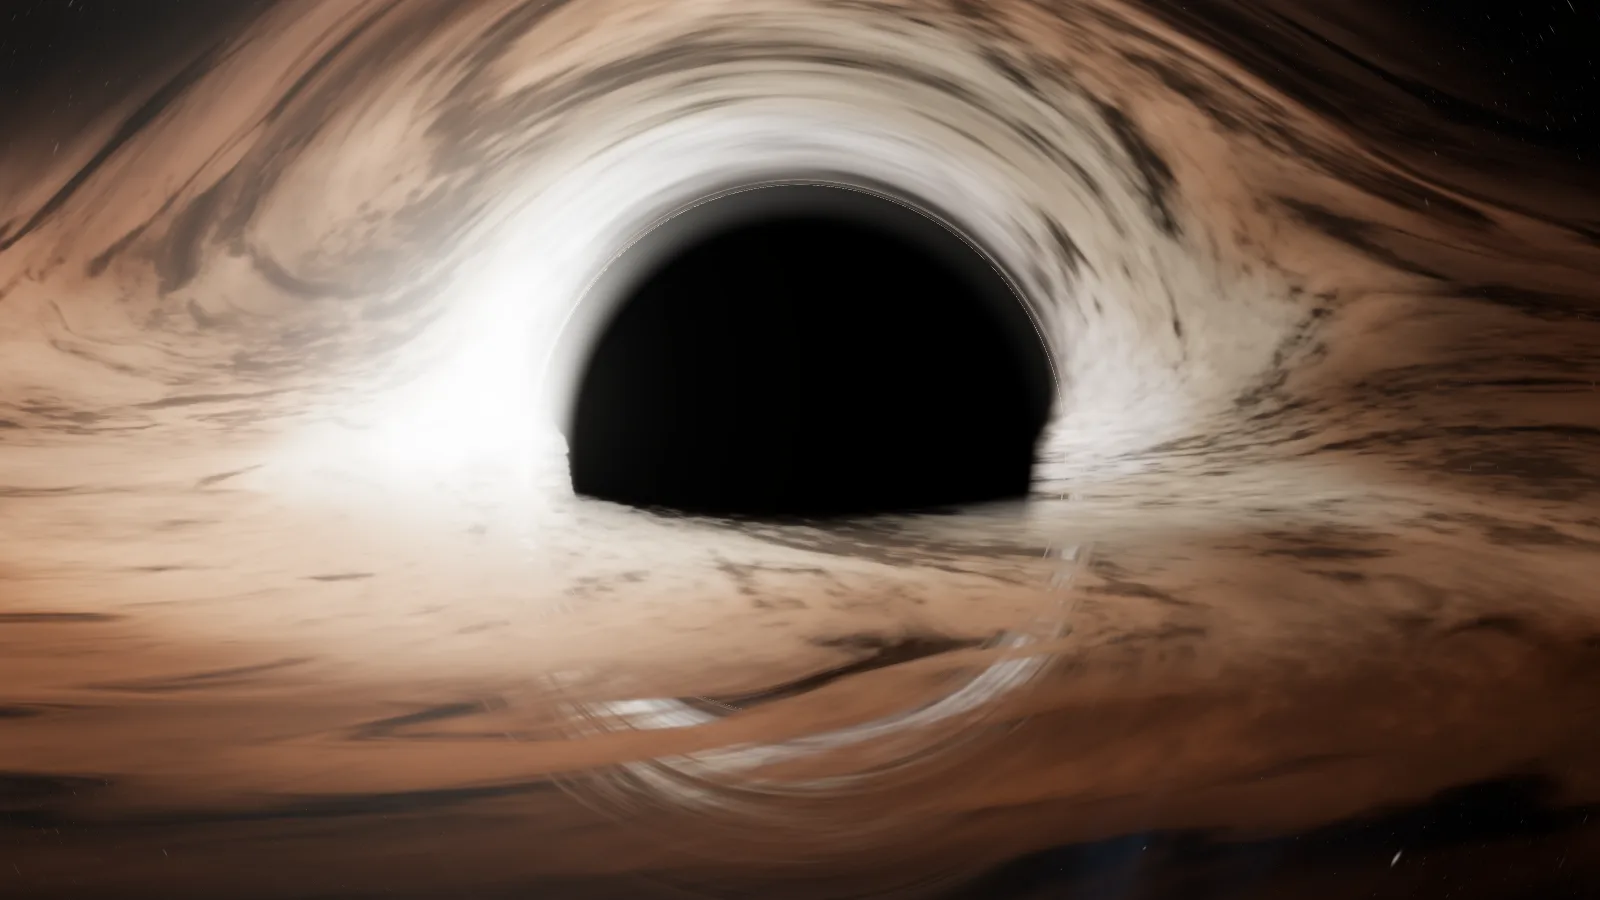
The current version does the opposite. For every pixel, a shader casts a ray from the camera and lets it fall towards the black hole following the equation of light around a mass. If the ray falls in, the pixel is black. If it escapes, it samples the stars in the direction it left. If it crosses the disk, it picks up its light.
The photon orbit equation, d²u/dφ² = −u + 1.5·rs·u², can be rewritten as a
central force in Cartesian coordinates, a = −1.5·rs·h²·r / |r|⁵, where
h² = |r × v|² is computed once per ray. With that, each step is a two-line
Verlet integrator:
vec3 acc = -1.5 * uRs * h2 * pos / (r2 * r2 * r);
vec3 nextPos = pos + dir * dt + 0.5 * acc * (dt * dt);
float n2 = dot(nextPos, nextPos);
vec3 nextAcc = -1.5 * uRs * h2 * nextPos / (n2 * n2 * sqrt(n2));
vec3 nextDir = dir + 0.5 * (acc + nextAcc) * dt;
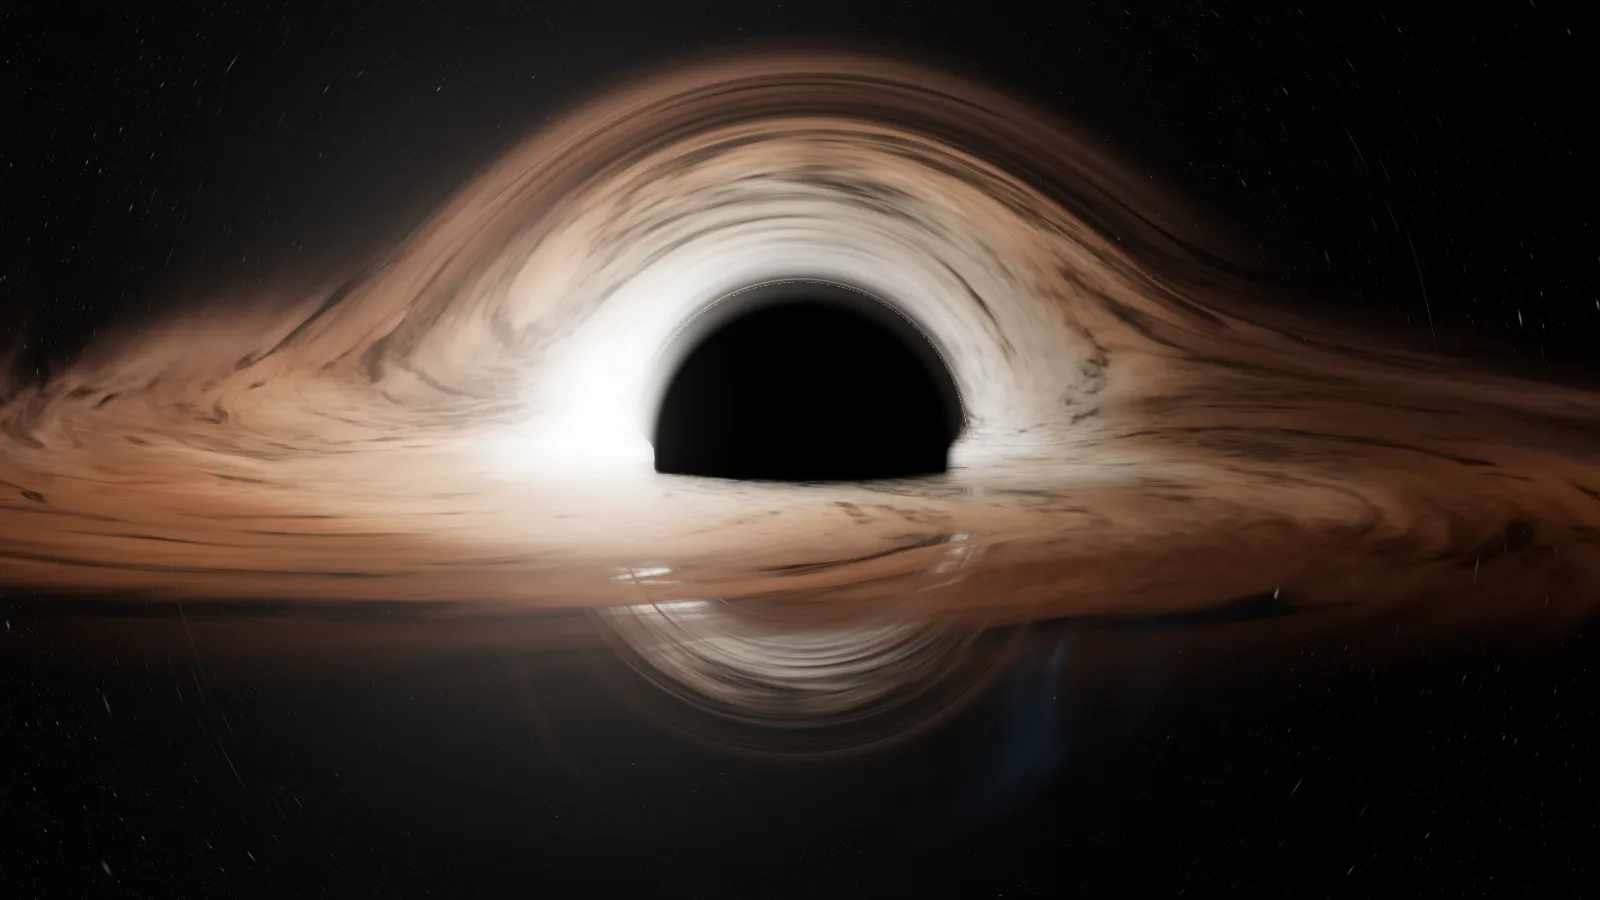
The beautiful part is what you get for free: the photon ring, the arc of the disk's far side passing over the shadow, the secondary image beneath it, the correct shadow size (a radius of √27/2 · rs, about 2.6 times the horizon) and the Einstein ring of the background stars. None of it is painted: it's what the light does.
An honest note: the film's Gargantua spins (it's a Kerr black hole). Here the spacetime is that of a non-rotating one, Schwarzschild, because tracing Kerr per pixel in real time was too expensive for a browser. What does spin is the disk.
Steps that follow the curve
A ray doesn't advance in fixed steps. Each step covers a constant angle around
the hole (dt = scale · r² / h), capped near the horizon, and relaxes up to
2.4 times as the ray spends its budget. That doubles the turns a ray can make
at no extra cost.
The previous rule made steps proportional to the distance from the horizon. It looked reasonable and drew a dark ring that doesn't exist: near the photon sphere, where light loops several times, rays ran out of steps before getting out. The budget is 190 steps per pixel on the normal tier and 340 on the deep one, and a ray stops early if it's certain to fall in (inside 1.5 times the horizon and heading inwards, about 40 iterations saved) or if nothing ahead of it can be seen any more.
The disk: noise that spins like Kepler
The disk runs from 1.58 to 17 times the horizon radius. Its texture is fractal noise, evaluated only at the two or three points where each ray crosses the plane, not at every step, and written in log-radius coordinates that rotate with the material.
The rotation is Keplerian: the inner edge spins about 35 times faster than the outer one. That has a catch: over time, the differential rotation winds the noise up forever, and within minutes the disk turned into concentric rings thinner than a pixel. The fix is two copies of the disk, half a cycle apart, that fade into each other every 20 seconds: the winding never passes a limit and the handover can't be seen.
Doppler: why one side is brighter
The gas on the side coming towards you shines brighter than the side moving away. It's the relativistic Doppler effect, combined with gravitational redshift:
float v = min(sqrt(0.5 * uRs / max(r - uRs, 0.30 * uRs)), 0.80);
float gamma = inversesqrt(max(1.0 - v * v, 1e-3));
float beaming = 1.0 / max(gamma * (1.0 - v * mu), 1e-3);
float gravity = sqrt(max(1.0 - uRs / r, 0.0));
float g = gravity * mix(1.0, beaming, uDoppler);
float boost = clamp(pow(g, 3.3), 0.24, 6.6);
In the final image, the approaching side is a little over twice as bright as the receding one, and it also shifts towards cream while the other turns copper. In the Observatory the Doppler control turns it off, and it's the control that changes the image most of the three.
The shadow the bloom was lighting up
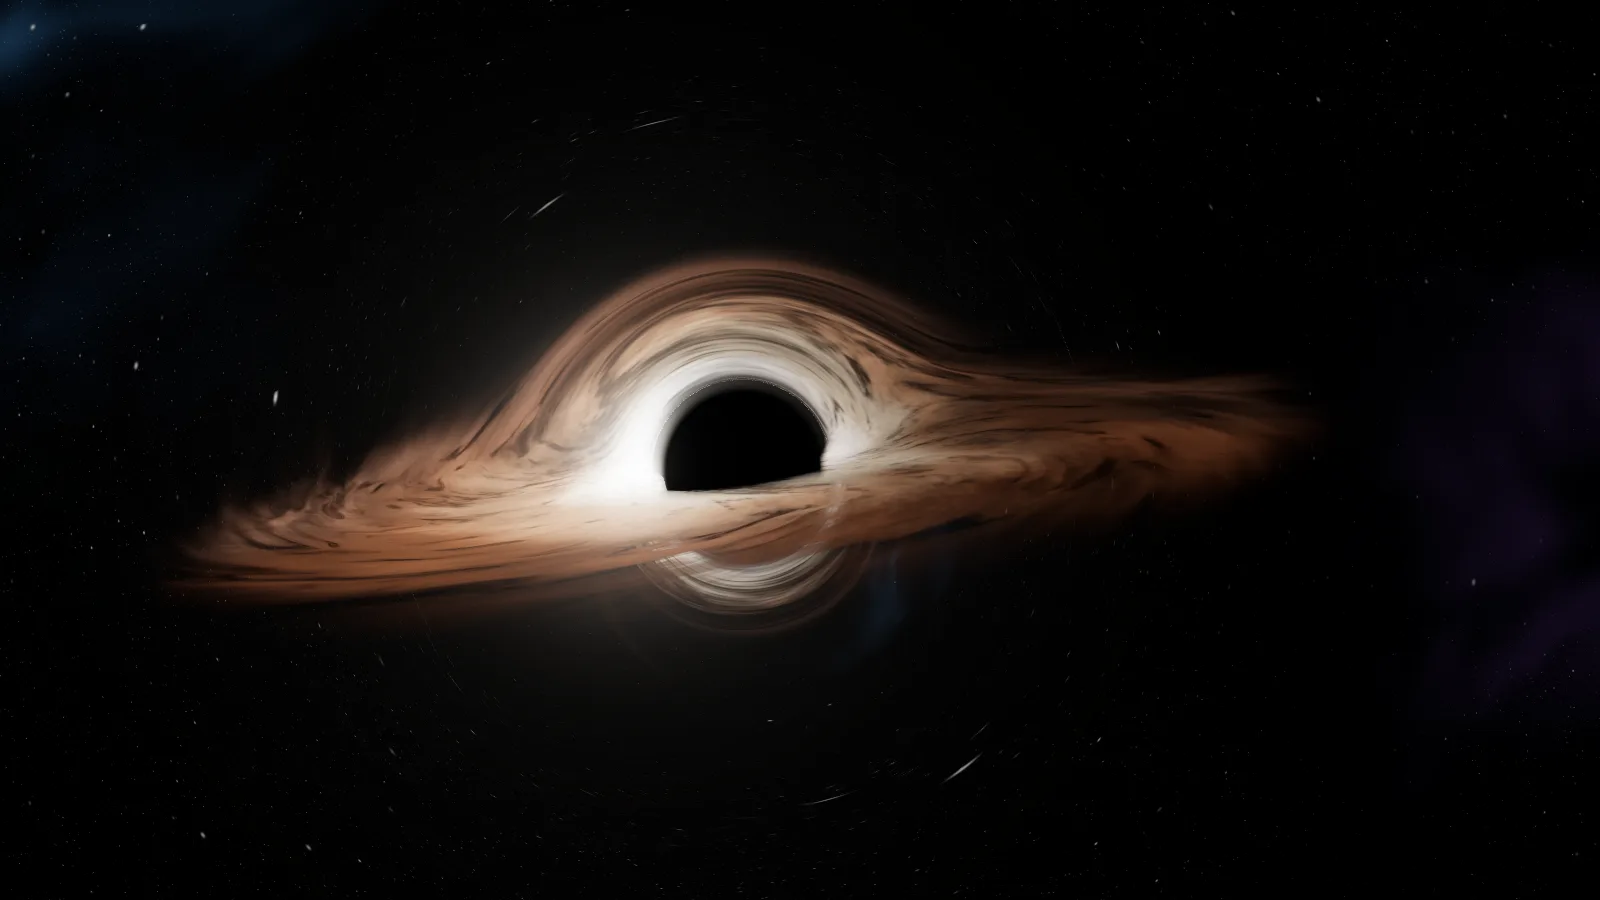
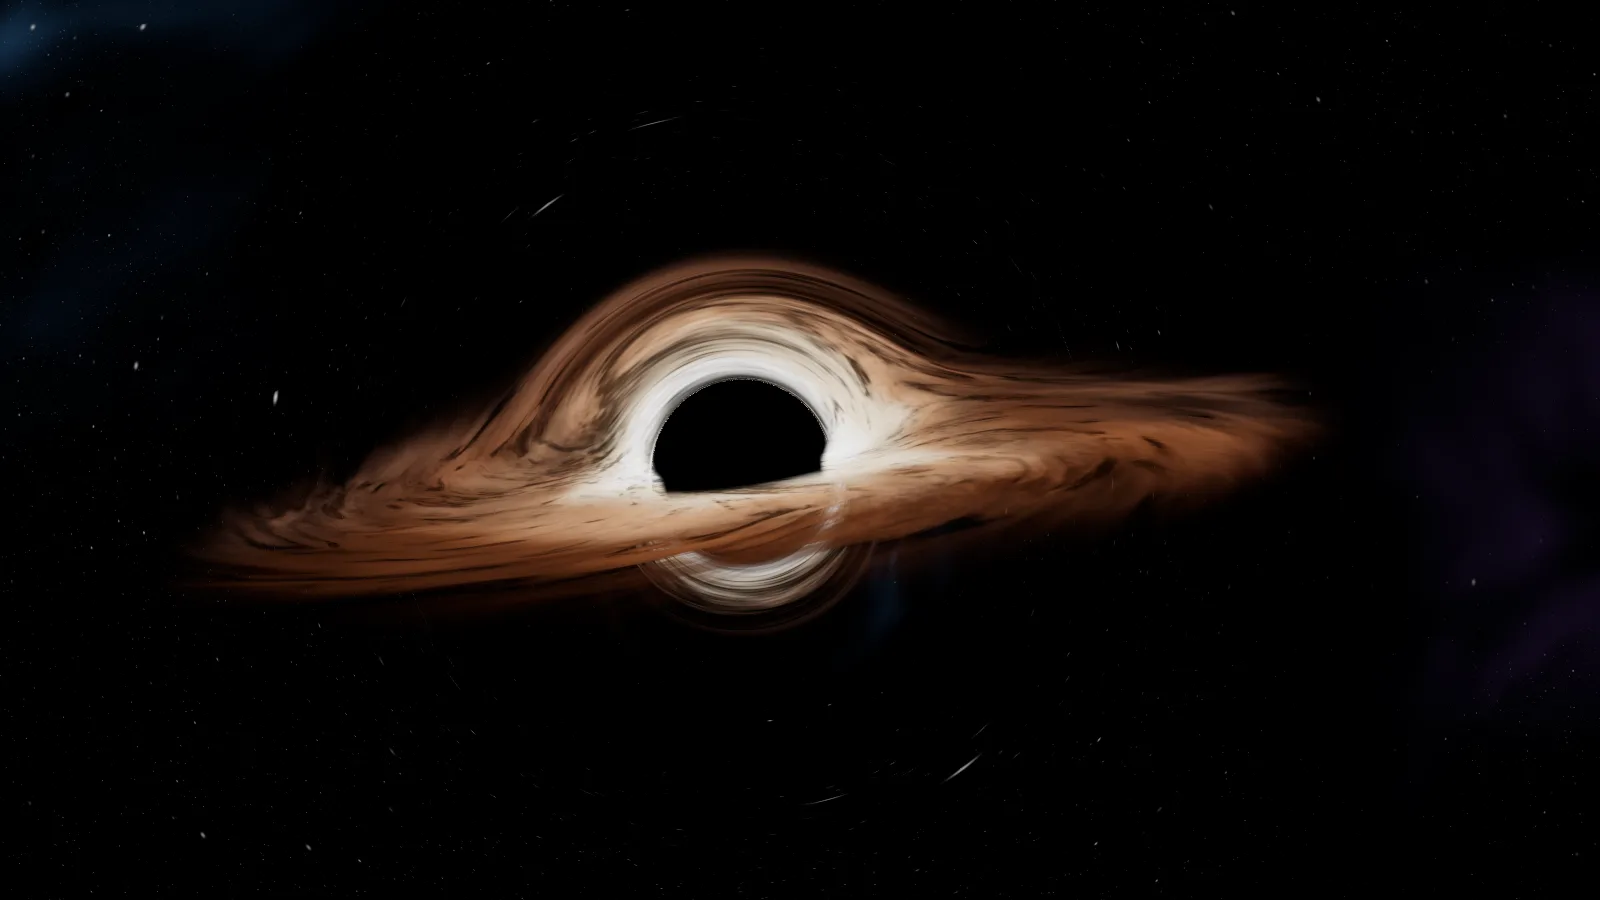
Bloom, the glow that makes bright things feel bright, had a flaw: it spilled the disk's light into the shadow, and the shadow stopped being black. Darkening a circle by hand didn't work, because it would erase real lensed arcs: the true black measures 118 × 73 pixels inside a 142-pixel shadow.
The fix was to save the image before bloom and bring it back only where the scene was already dark and inside the shadow:
vec2 offset = (vUv - uCentre) / max(uRadius, vec2(1e-4));
float inside = 1.0 - smoothstep(uInner, 1.0, length(offset));
float lum = dot(clean, vec3(0.2126, 0.7152, 0.0722));
float dark = 1.0 - smoothstep(uDarkGate.x, uDarkGate.y, lum);
gl_FragColor = vec4(mix(bloomed, clean, inside * dark * uAmount), 1.0);
The brightness at the centre of the shadow dropped from 106.8 to 18.2, and nothing changed outside it.
What I took out
- A drawn photon ring. There was a one-pixel circle at the critical radius. An exact one-pixel circle is a circle painted on top; now the edge comes from higher-order images stacking up on their own.
- A spotlight blob. The point where highlights start to compress dropped from 9.6 to 4.2, and pure-white pixels went from 2177 to 1268.
- A lopsided edge. The disk looked heavy on one side. It wasn't the shape: it was the handedness of the spiral, proven by reversing it. The winding went from 1.15 down to 0.60.
Making it run on any device
All of this is a single draw call: a four-vertex rectangle and one material. To smooth the edges, the image is accumulated over eight frames with tiny offsets, and when nothing moves the Observatory stops drawing.
There are three tiers. The normal one uses 190 steps. The deep one uses 340 and higher resolution, and only switches on with a mouse, a wide screen, eight cores and eight gigabytes of memory. Without WebGL2, on a software GPU, on 2G or with little memory, the site serves a flat 2D version with the same text and the same routes.
And two things outside the shader:
- Compiling in parallel. With
compileAsyncandKHR_parallel_shader_compile, the 2.4–2.7 second task that froze the page on arrival disappeared. In Lighthouse mobile, blocking time went from 7.95 s to about 2 s. - Resolution that adapts on phones. The scene starts at one pixel per point and steps up to 1.25 and 1.5 only while the phone keeps its own pace; if it stutters, it steps back down and stays there.
Try it
Open the Gargantua Observatory, switch to Study and go through the four views: Cinematic, Lens, Disk and Shadow. Then turn Doppler, Secondary images and Lens off one by one and see which part of the image was physics and which wasn't.
If you'd like a 3D experience like this for your product or brand, here's how I work.